How To Build A Shelf With A Peg Rail | DIY
This page contains affiliate links: I make a commission from purchases made through these links with no additional cost. Thank you for all your support!
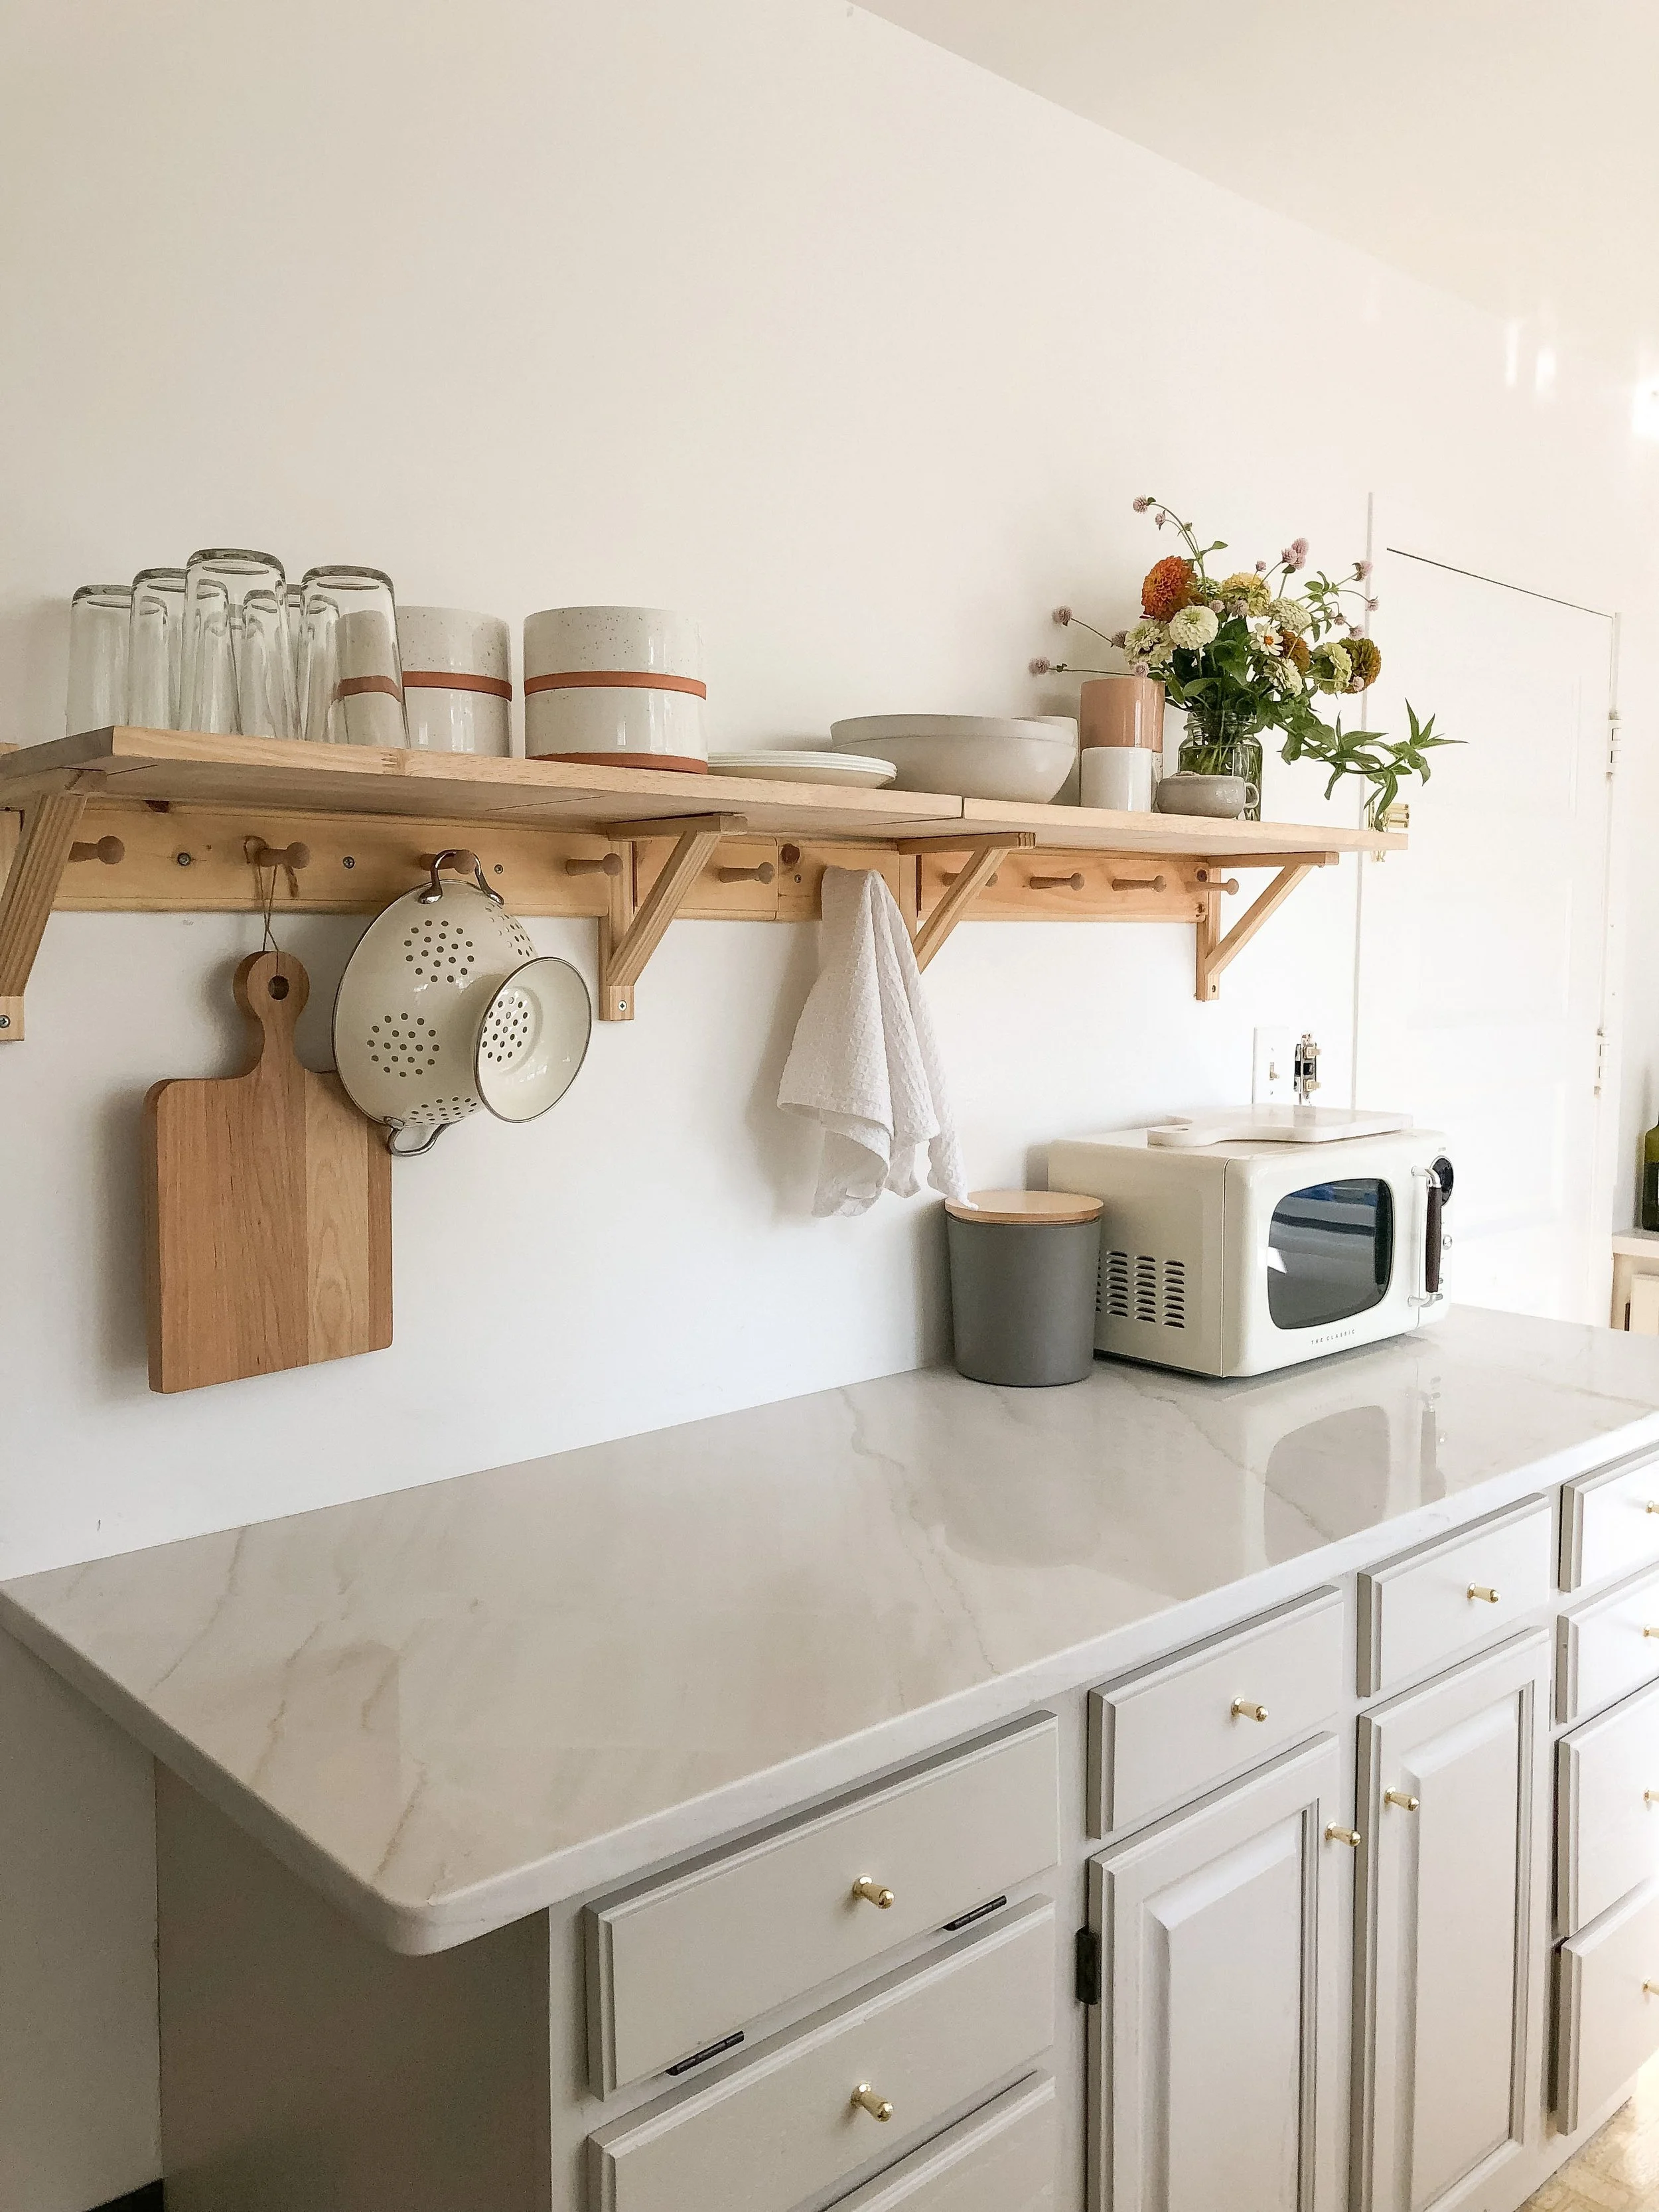
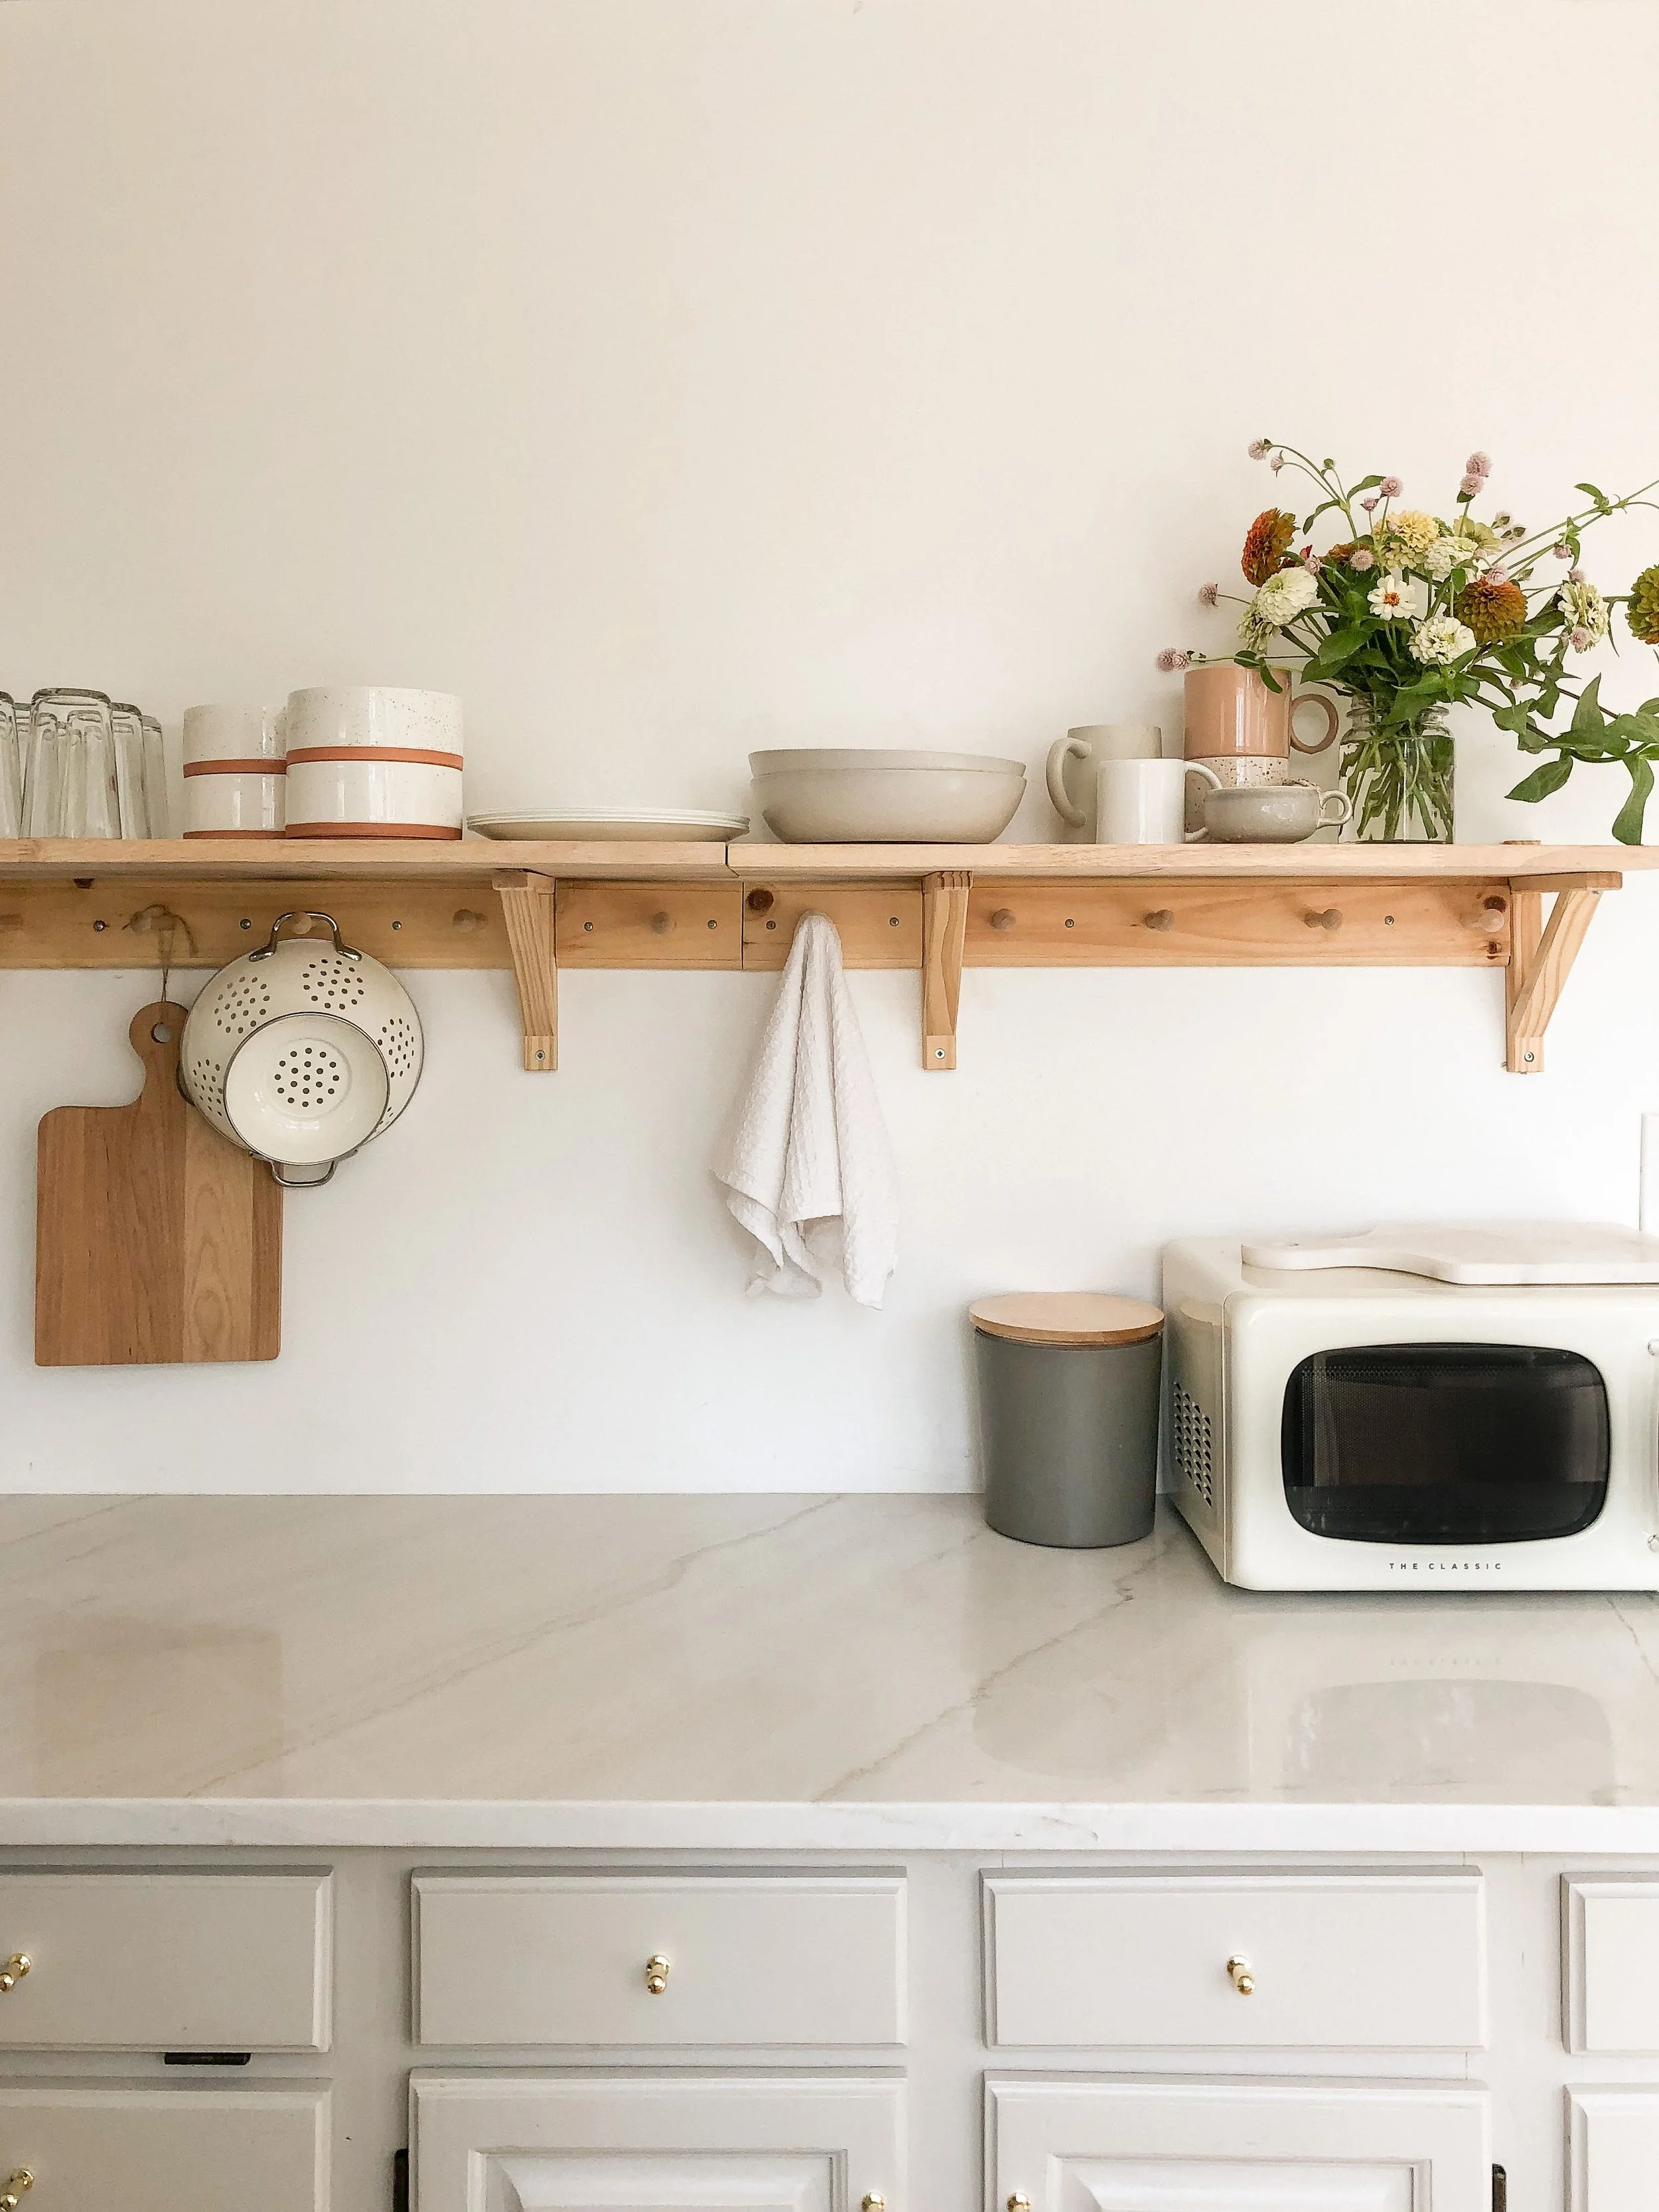
One of the most asked questions I get on Instagram is how we built our wood open-shelving. When we renovated the kitchen, we decided to create a custom peg rack shelf. We were able to create it for super inexpensive and without the work of having to create an entire peg rail from scratch to go under the shelf.
This project can be tweaked and changed based on whatever size you would like to make. Depending on the length of the shelf, you may be able to make it without cutting down the peg rails - this way, you would not need a saw and could easily have your shelf top piece of wood cut to size at Home Depot for free!

Tools + Materials
Scrap Wood (for shelf top)
Saw (if needed)
Screws + Drywall Anchors
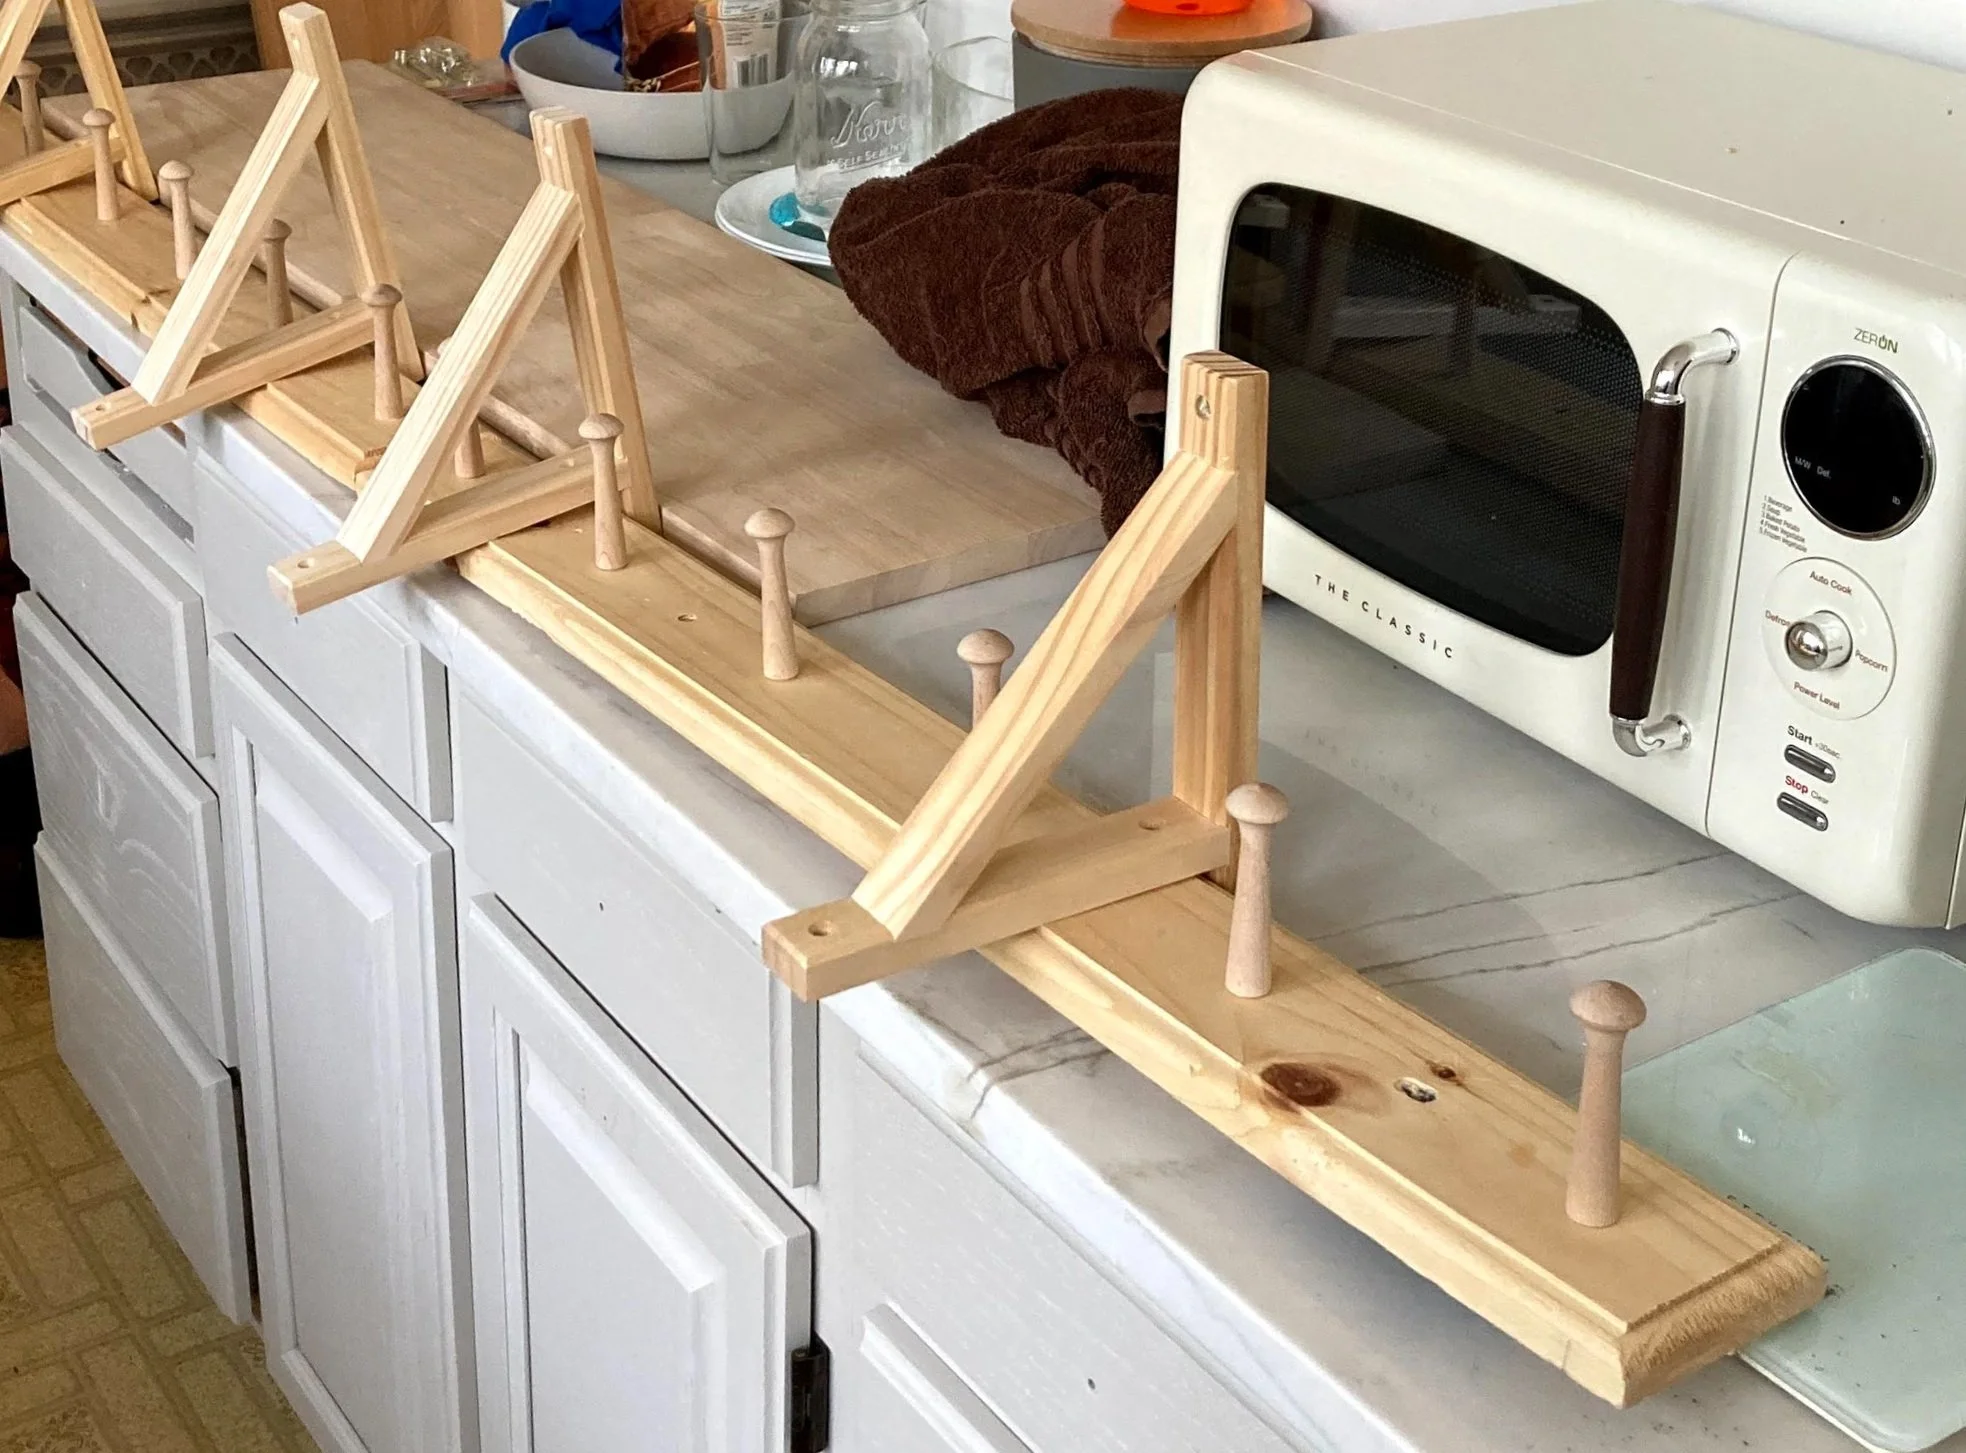
We measured the length we wanted for the shelf and cut out sections of the peg rail to allow the wood brackets to fit in between the pegs.
The only tricky part is making sure the pegs are evenly spaced between your wood brackets - make sure to double check before cutting everything down to size.
We hung each piece up separately using a laser level; first the wood brackets, then the peg racks, and last we attached the top securely.
And that’s it!
We love using the peg rack to hang our colander, measuring cups, and other kitchen utensils and items.
Here’s a reel over on Instagram that shows the whole process too!


