DIY Rental Kitchen Makeover For $100

BEFORE | AFTER

So. We did a DIY kitchen makeover in our rental. It’s something I’ve always wanted to do but never had the guts to commit to since this space isn’t our forever home. I can now honestly say that it is so worth it. Making whatever home you are living in beautiful, no matter the time span you live in it, is so worth the investment. Especially if you do it for only a hundred bucks.
Obviously there are different types of landlords and restrictions on what you can do in a rental space. We are lucky to live in our building - I simply stashed away everything that we replaced into a cupboard to swap back when we move out someday. I hope this gives you some inspiration if you are looking into changing up your rental kitchen.
Here’s what we did…

BEFORE | AFTER
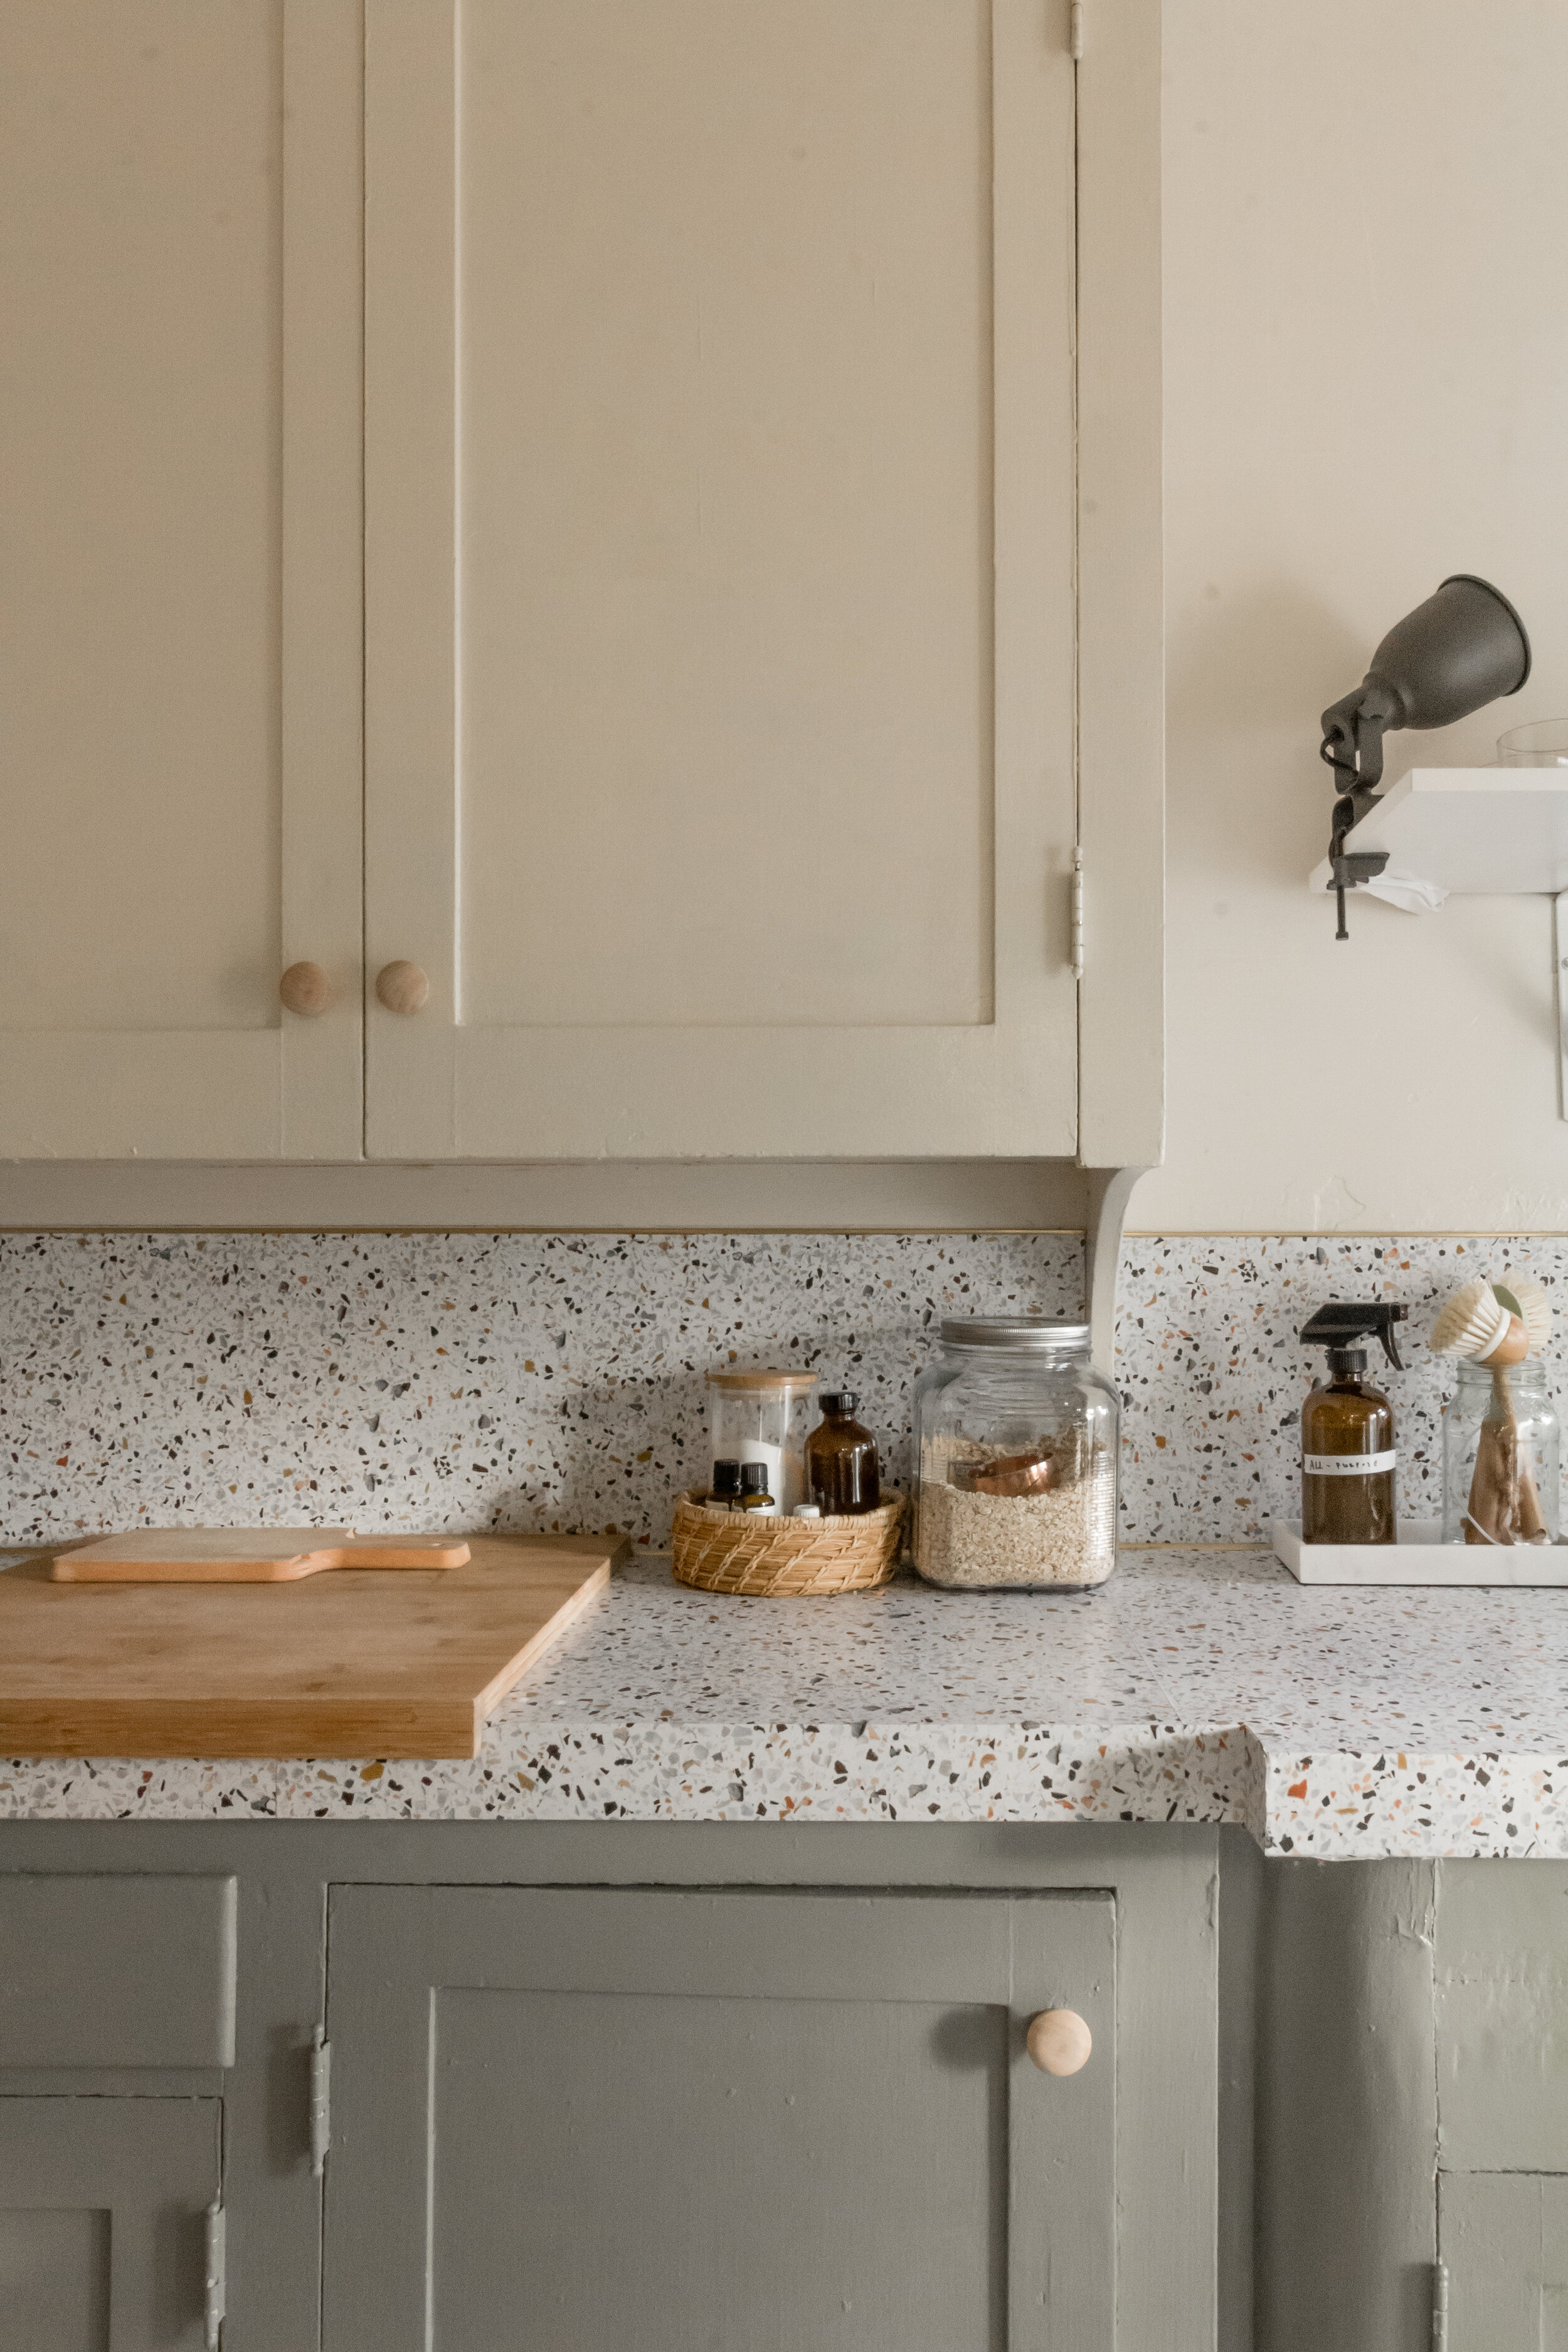
Painted Cabinets | There really is nothing like a fresh coat of paint. Our cabinets had many layers of paint and drips that we lightly sanded before giving it a fresh coat. On the upper cabinets and walls we did touch-ups of the existing white and on the bottom section, we chose to go with a darker grey/green color called Pigeon by Farrow and Ball.


Knobs | I picked up these wood knobs from WalMart for crazy cheap and they are one of my favorite touches. We simply filled in the holes with spackle and touched up the paint since they are different than the original knobs. Hardware is one of those details that instantly changes a space in my opinion.

Contact Paper Countertops | I was really hesitant to use contact paper on our countertops - I mean, how could that actually work? Would it hold up? After reading tons of reviews and tutorials online, everything I found was fairly positive. Only catch is you cannot place hot objects directly on it, which we don’t tend to do anyways. So I went for it. I documented the process on my Instagram account where you can find a highlight where I show the application process and answered some questions. We’ve been using it for a few weeks now and I can’t believe it’s holding up so well.
I feel like covering up the dark, dated countertop completely changed everything. I went with this terrazzo patterned contact paper that I found at WalMart for under six dollars a roll that I love. I used two rolls and ended up keeping a third just in case I need to replace a section at some point.


Shelving | We have had these installed for a while, but I thought they were worth mentioning since I feel like open shelving in a kitchen really updates the space. The small shelf above our stove is from IKEA and the wood brackets are from Walmart. The longer shelf above the sink is one I found in the closet section of Home Depot for crazy inexpensive. I love having these shelves to style, but the functionality is also really nice.
Budget:
Paint: $14.98
Hardware: $17.94
Contact Paper: $16.44
Shelving: $53.87
Total: $103.23
SHOP THIS POST

Resources
This post contains affiliate links: I make a commission for purchases made through these links with no additional fee to the customer. Thank you for all the love and support of this blog!